Start With the Equipment Identity
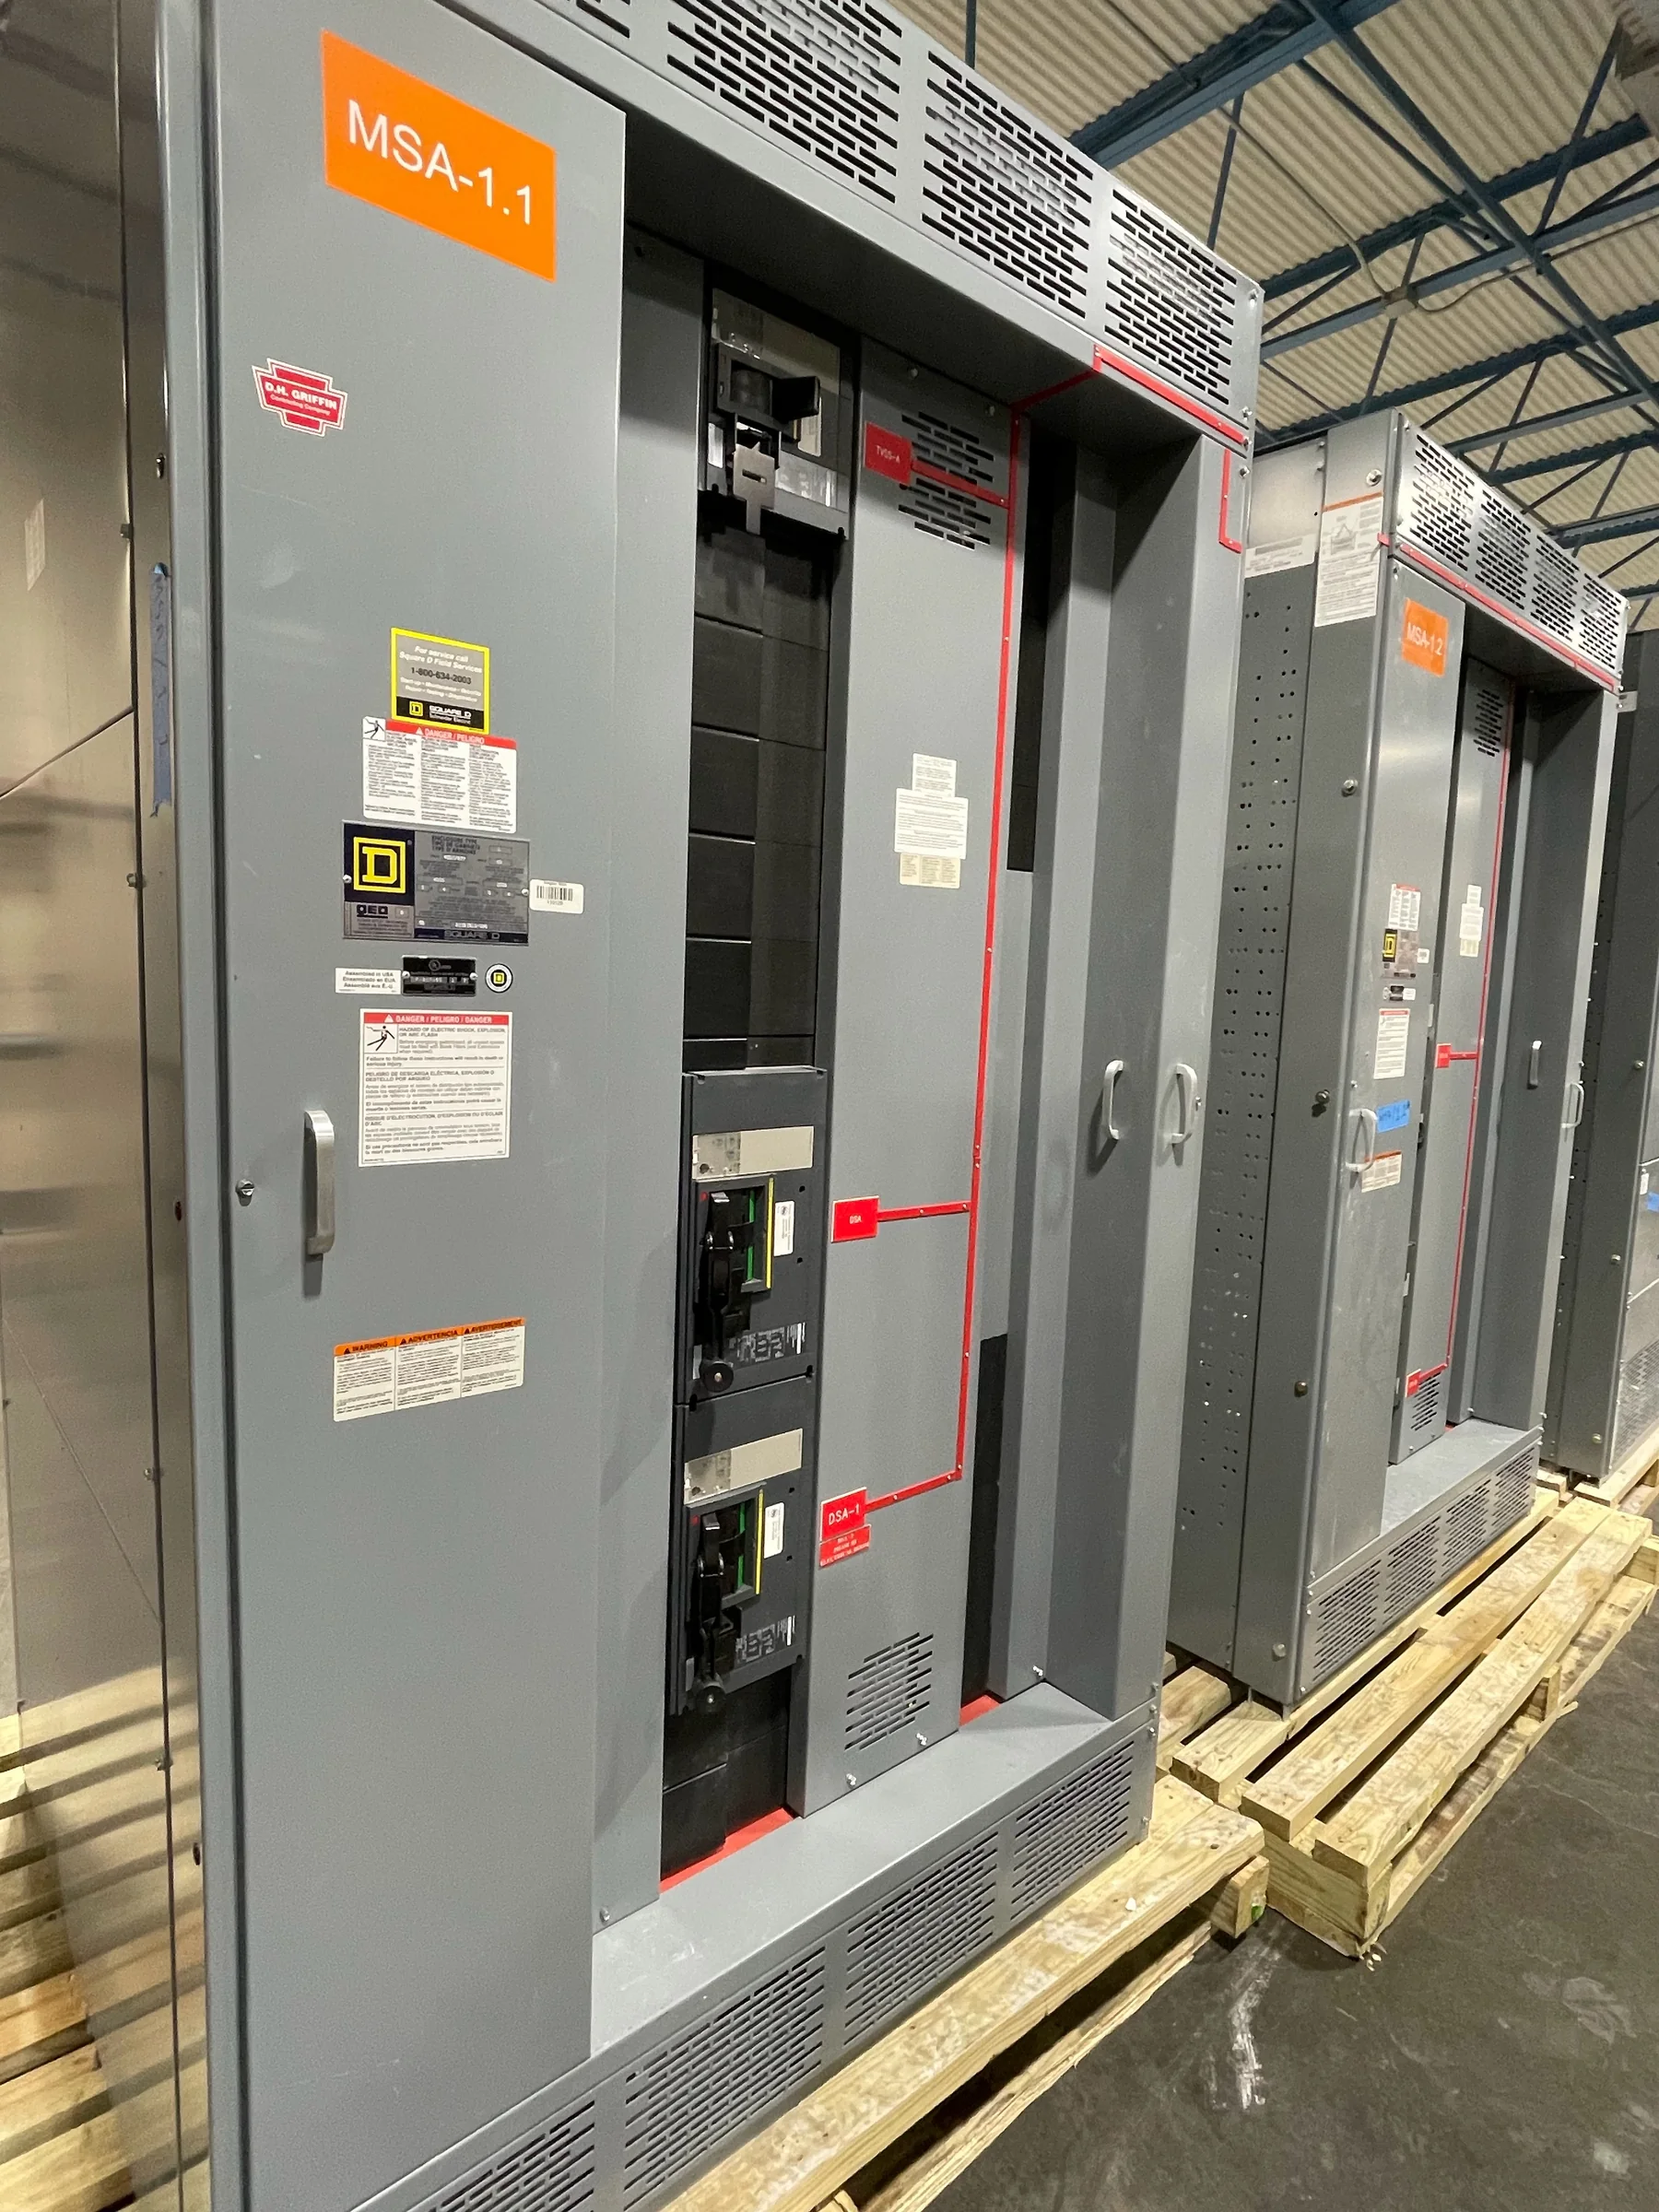
A nameplate is the fastest way to distinguish equipment that looks similar but serves a different electrical role. Begin with the manufacturer, equipment type, catalog or drawing reference, serial number, and manufacturing date, when shown. Confirm whether the label identifies a switchboard, switchgear assembly, or another product; those terms are not interchangeable for specification or replacement purposes. Record the complete identifiers and compare them with the one-line diagram, approved submittals, and maintenance records. A partial model number can point to the wrong construction or options. If the installed label is damaged or conflicts with the project documents, do not infer the assembly’s identity from its enclosure or breaker arrangement. Ask the manufacturer or responsible engineer to reconcile the records before requesting replacement equipment.
Read Voltage, Phase, and Frequency Together
Voltage, phase, and frequency describe the electrical system the assembly is intended to serve, but they must be read as a group and checked against the source and load documents. A voltage entry alone does not establish compatibility with a facility’s available service, grounding method, or connected equipment. Compare nameplate values with the current one-line diagram, utility or transformer information, and equipment schedules; flag discrepancies rather than selecting a replacement from the old label alone. Frequency matters when equipment or connected loads are frequency-sensitive, and phase affects the system arrangement. Confirm whether the stated voltage is nominal and how the project defines system conditions. For a new build, provide these details with the quote request so engineering can evaluate the intended application.

Understand Current Ratings and Short-Circuit Information
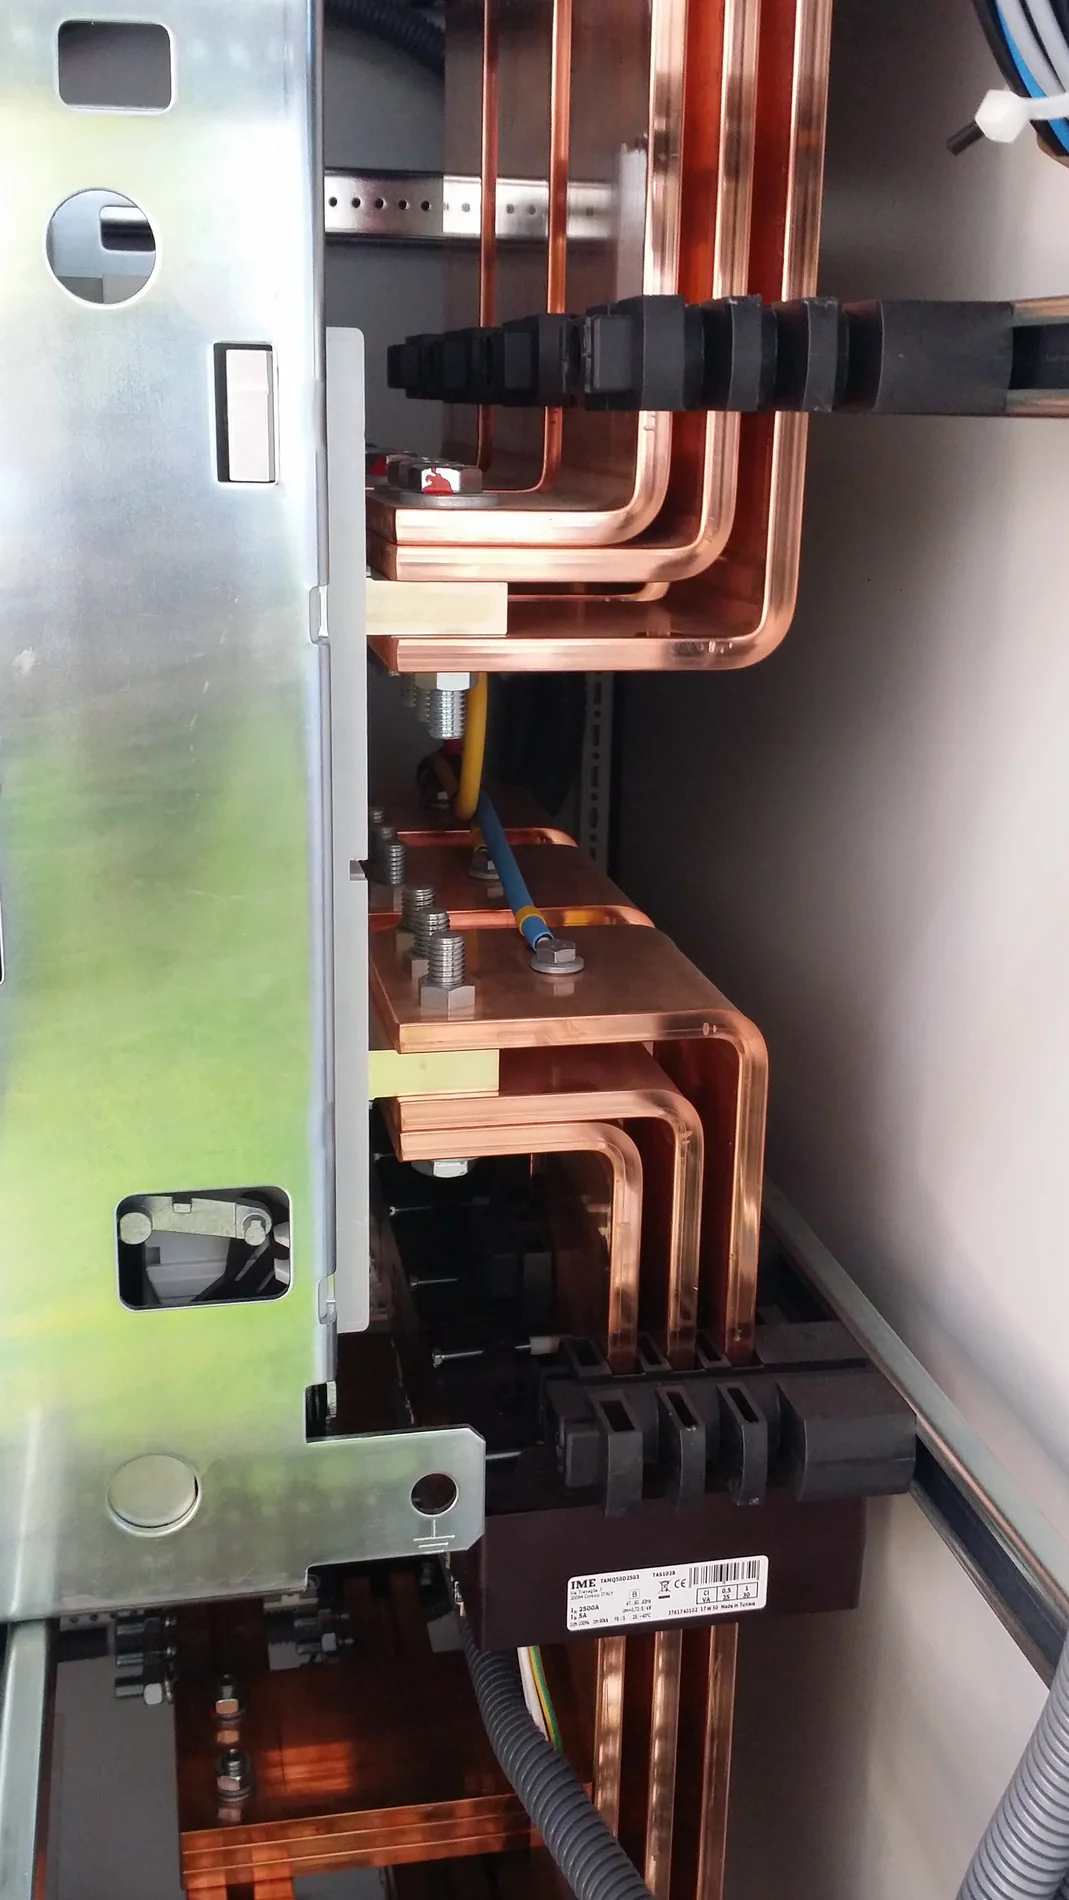
Current and fault-duty markings answer different questions. A continuous-current rating concerns the assembly’s rated operating current under specified conditions; it is not permission to load every section or device to that value without checking the design. Short-circuit information may identify a withstand rating, interrupting rating, or a rating conditional on a particular protective device combination. These values are not interchangeable. Compare the nameplate and device markings with the available fault-current study, protective-device schedule, and coordination documentation. A mismatch can affect safe application, protection, and whether a proposed replacement is suitable. If the label does not make the rating basis clear, obtain the governing drawings or manufacturer documentation. Do not assume an older assembly’s fault rating meets a revised system study.
Check Standards, Temperature, and Enclosure Details
Standards and environmental markings help define the conditions under which an assembly was evaluated, but they do not replace project-specific review. UL 891 applies to appropriately evaluated low-voltage switchboard assemblies; it should not be treated as a blanket certification for medium- or high-voltage equipment. Verify the exact product type and the scope of any marking on the equipment and its documentation. Note ambient-temperature, elevation, enclosure, and other environmental information when present, then compare it with the installation space. A hot electrical room, dust exposure, moisture, corrosive atmosphere, or restricted ventilation can change what construction is appropriate. Record site conditions for the design team instead of assuming an existing enclosure or rating will suit a new location.
Use the Nameplate to Reconcile Drawings and Devices
The assembly label is one part of the equipment record, not a complete bill of materials or maintenance instruction. Compare its identifiers and ratings with the approved shop drawings, breaker and fuse data, bus arrangement, control schematics, and equipment schedule. Document any field changes, replaced devices, or sections that do not match the drawings; these differences can affect replacement planning and coordination. Photograph the nameplate legibly and capture associated labels without removing covers or approaching exposed energized parts. If safe access requires opening equipment, that work must be planned and performed by qualified personnel under applicable safety procedures, with electrical hazards properly controlled. Clear records let an engineer or manufacturer assess the actual installation rather than relying on assumptions based on a faded label.
Turn Nameplate Data Into a Quote-Ready Scope
For a new assembly or replacement project, send the manufacturer the nameplate photograph, equipment identifiers, current one-line diagram, available fault-current information, and the relevant space and connection drawings. Include required system ratings, incoming and outgoing arrangements, metering or control needs, enclosure conditions, access limitations, and any required standards or project documents. State which details are verified and which remain unknown; this helps prevent an early budget discussion from being mistaken for final design approval. Also identify removal constraints, room access, receiving hours, unloading capability, and the intended installation sequence. Custom construction, American components, short lead times, and nationwide shipping may be relevant offerings, but configuration, availability, schedule, and delivery coordination must be confirmed for the specific project before commitment.